It seems crazy that we only have one day a year to celebrate moms, after all they are essentially super heroes. At any given time they are on call chefs, nurses, therapists, coaches, chauffeurs, housekeepers and in this current climate add educators, hair stylists and entertainers to the mix. It seems that on this mothers day, you really take the time to treat mom the way Beyonce demands to be treated.
We have a few step by step instructions to ensure your mom has the best Mother’s Day Breakfast Ever. Because it is Mother’s Day, pouring cereal and milk is not going to cut it. Instead, get a little fancy! I will give you the description, and then put the abbreviated versions at the bottom for those who don’t want to read the extra sass and flair
I love you a Latte:
Add a dash of cinnamon and frothed milk to her coffee in the morning to emulate that fancy coffee she is likely missing.

I know what you’re thinking – “I DON’T HAVE FROTHER” – You don’t need one. An easy way to froth milk without a frother is to get the smallest pot you own, add some milk and grab a whisk. Once the milk is warm it will start to bubble, that is when you whisk like you have never whisked before. Think scrambled eggs but double. After whisking for about 3 minutes you’ll have some nice frothy milk. Add a dash of cinnamon for a delightful little treat.
Did someone say MOM-mosas?

Champagne and orange juice is a pretty simple recipe to follow… BUT what you really want to make it worthy of Mom is more than just pouring some Minute Maid in a glass. The night before mothers day, make sure you put that bottle of Champagne in the fridge – I wouldn’t wish warm champagne on my enemies. In the morning you’re going to grab two navel oranges. Roll them on your counter with the palm of your hand. This loosens up the juices from the piths (those weird white stringy parts), but I like to think it adds a layer of impressive kitchen skills to anyone who is watching. Roll each orange 2-3 times. Next you’re going to want to cut them horizontally across the middle- aka cut them in half. Next up grab a bowl and a fork. You’re going to hold the halfed orange over the bowl and stab the fork in the middle. Now twist baby, twist. You will twist the fork in the orange, and a surprising amount of juice will come out of the orange. Repeat that across the entire orange. Get every little last drop of juice out of there. Repeat with the other half. Once you are done, use the fork to pick out any little seeds, or piths that have fallen into the juice.

Pour the juice from the bowl into a nice pitcher of some sort, or if you’re like me a mason jar (kitchen equivalent for duct tape). Now grab a glass, pour the champagne half way, and fill the rest with the fresh squeezed juice. If you really want to blow Mom away, add some fresh fruit for a garnish. If you’re out of fresh fruit, you can take some frozen fruit out of the freezer, add 1 teaspoon of sugar and drop them in the glass before you add the champagne.
CinnaMOM Buns
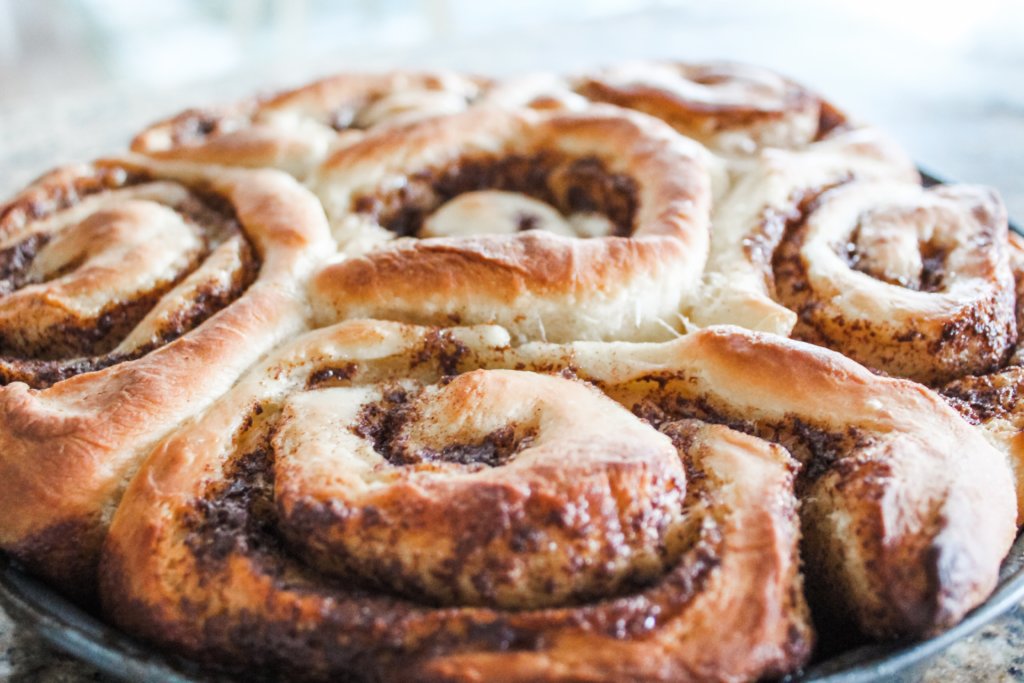
I know three things for sure. The first being, you can’t predict the future. The second, don’t waste energy on things you cannot control, and the third is that EVERYONE LOVES CINNAMON BUNS. So with that in mind, there are endless cinnamon bun recipes that have very long lists of ingredients, like buttermilk, yeast and you have to wait for hours for them to rise. When it comes to baking I like to KISS. Keep It Super Simple. Here is an easy recipe to make cinnamon buns at home, with very limited ingredients that you should already have in your cupboard.
Start by putting all the dry ingredients for the dough in the bowl, then add the butter. Because you’re adding cold butter and if you’re like me – you don’t have a pastry cutter – get out your cheese grater and grate the butter so it is in small shreds like it would be if you cut it with a pastry cutter.Then when you add it, use a fork to stir in it. Add the milk and start to knead the dough with your hands. Sprinkle a handful of flour on your counter and then dump the dough on your counter. Roll it around until it make a good ball shape. It will get sticky during this time, so add a bit more flour to combat that as you roll it around. Now grab your rolling pin (or wine bottle) and start to roll out the ball. You can put a layer of waxed paper on top to keep it clean, but I find it just complicates things. Some people will cut the waxed paper to the exact rectangle they want, but in my experience unless you have a professional rolling machine, its going to be an oval like rectangle. Just shows they were home made with love. Ok so roll out the dough until it is a rectangle. You want it thin-ish because that means you’ll get more cinnamon swirls. Once you like the shape and thickness – it’s time to add the cinnamon filling.
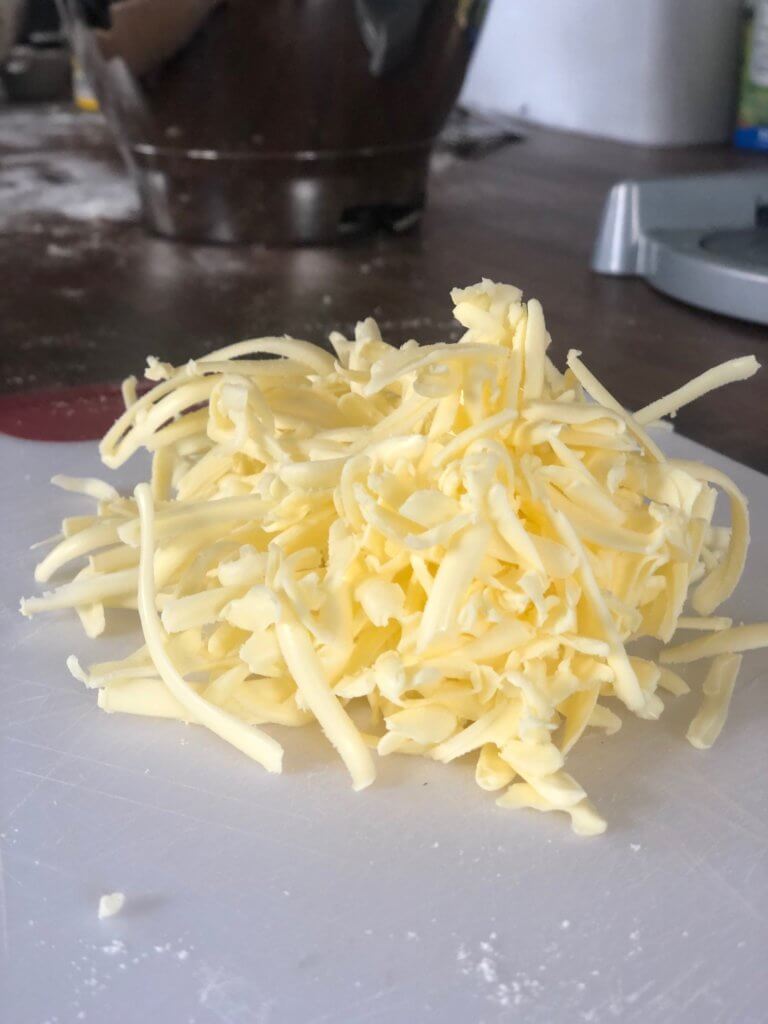
Grated Butter 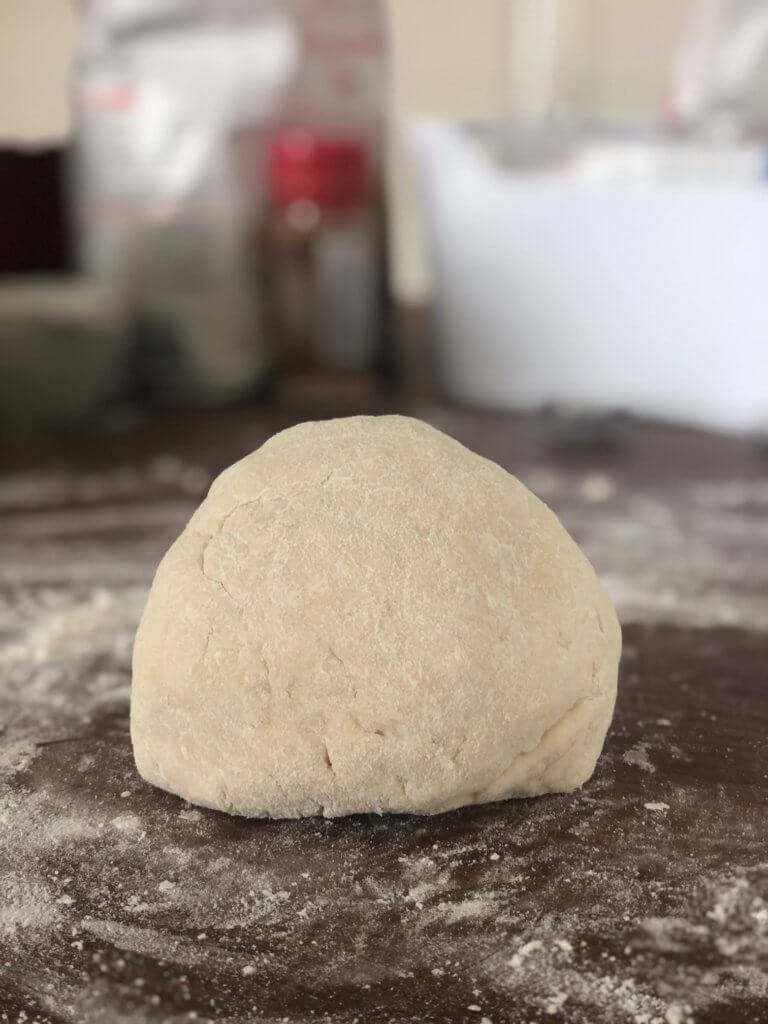
Dough Ball 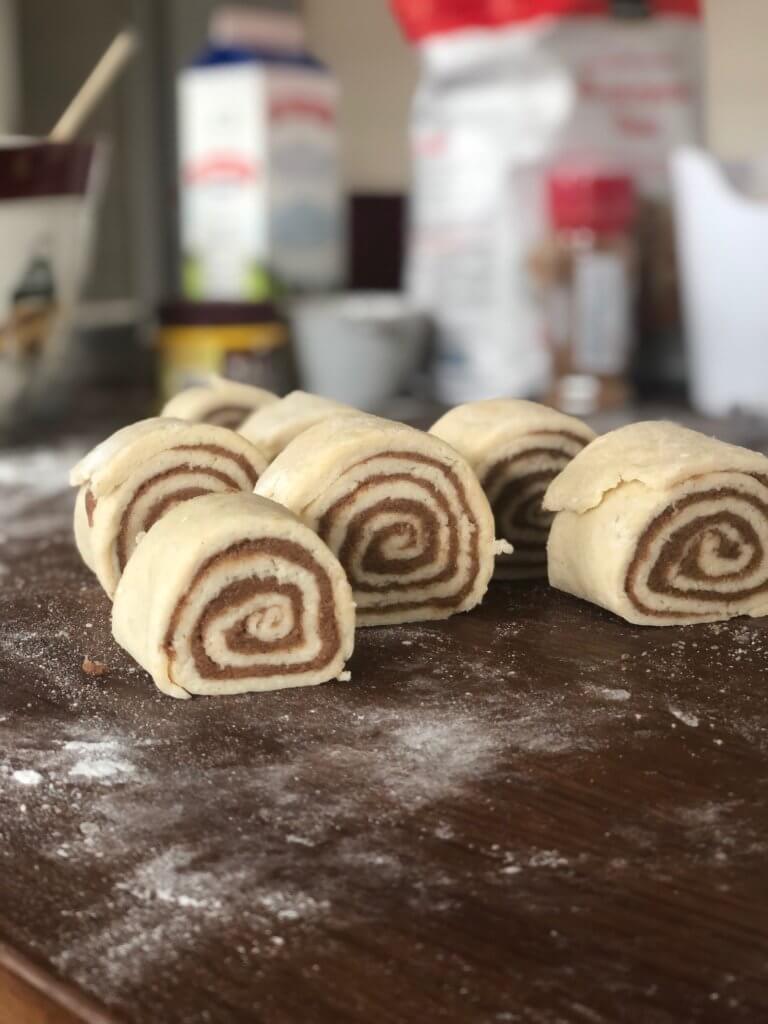
Cinnamon Roll Ups
In a separate bowl, add the brown sugar, white sugar, cinnamon and melted butter, throw in a splash of vanilla and mix away. It will get thick and resemble wet sand – like when you used to make mud pies in the sandbox as a kid. Once “mud pie” level is achieved it’s time to spread that cinnamony goodness. This is more challenging than you would think. I normally use a rubber spatula and do small sections and then run it across the dough and blend it together. Once it is covered it’s time to tuck and roll. Pick one of the skinnier ends and start to roll. You want to keep it as tight as possible. Lucky for me, I am a burrito enthusiast so I got this! Roll it all up and you’ve got a tube/log. Cut it with a serrated knife in 1-1.5 inch chunks. If your log is falling apart – throw it in the freezer for 5-10 minutes. It will get more solid and easier to cut.
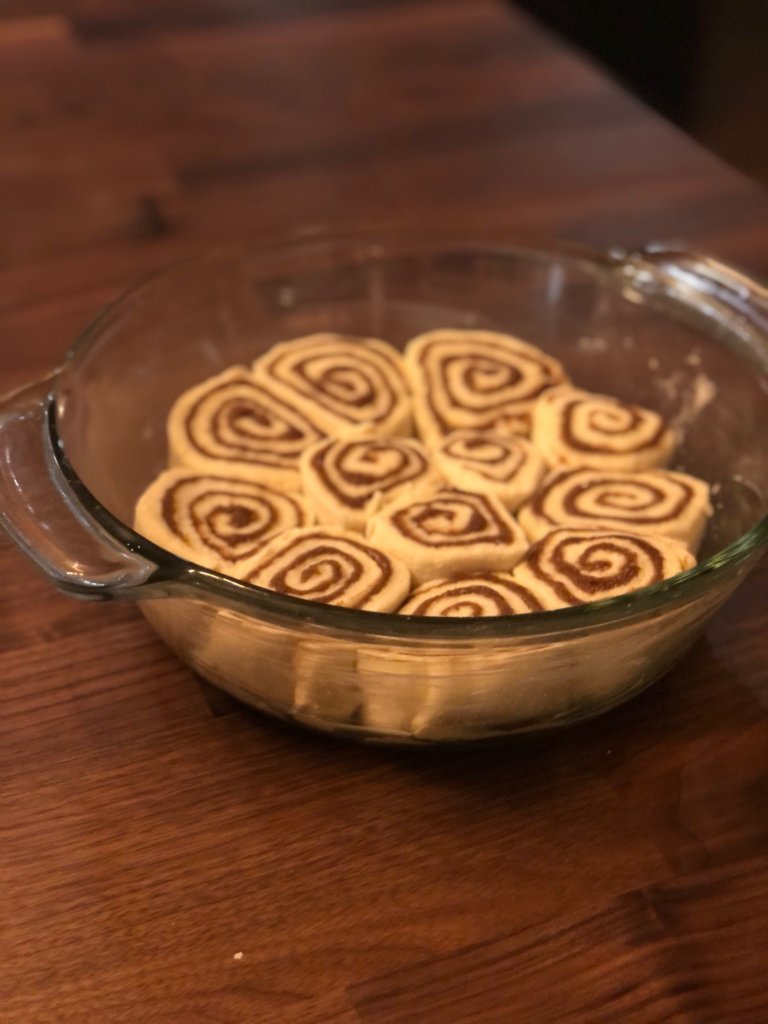
Then you want to put them in the GREASED PAN! Most times with cinnamon buns you want to use a round pan – I don’t quite have that, so I am using a pie plate (that has never actually baked a pie in it’s life). Bake them for 25-30 minutes, and rotate the pan half way through so that all sides cook evenly. You will know they are done when the edges start to get a light golden brown colour.
hile they are cooking it’s time to make the frosting…mmmm. I put the wet ingredients first and started to mix on low. Frosting needs either a stand mixer or hand beaters to really get it whipped. Slowly add in the powered sugar and stop after every 10-15 seconds to whip the sides of the bowl, so that the powdered sugar doesn’t have time to harden. Crank your mixer up to 11 and let it get real thick. Once it is done, throw it in the fridge while the cinnamon buns continue to bake and cool.
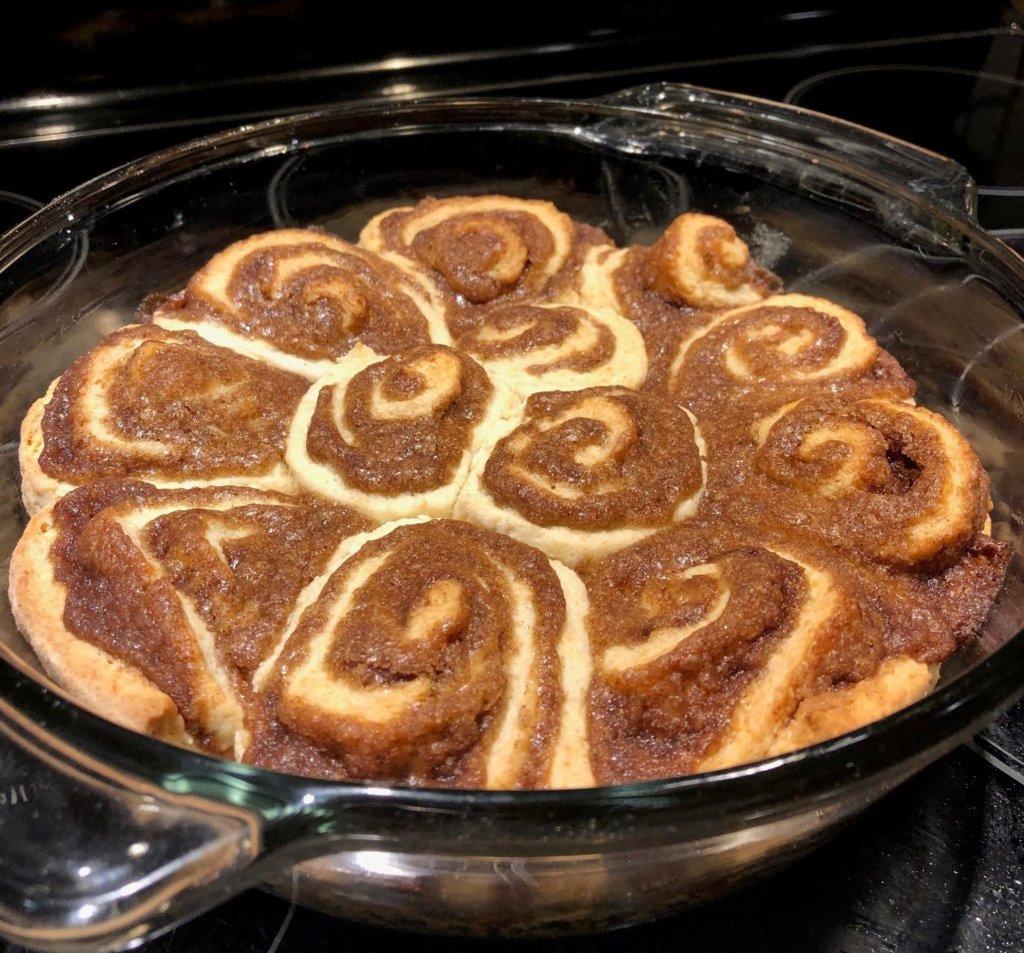
If you’re anything like me, your kitchen will be a disaster, so use this time to give it a clean – so mom doesn’t have a mess to deal with. By the time you’re done cleaning, the buns will be ready. Let them cool for about 10 minutes before spreading the icing, and watch as they turn into ooey gooey treats!
Frothing Milk for a latte:
1 cup of milk of choice ( Dairy, Goat, Oat, Almond, Coconut, Cashew etc.)
1 small metal pot
1 Whisk
1. Pour milk in pot, set over medium heat and wait to bubble.
2. Once bubbled, reduce heat and whisk for 2-5 minutes until desired froth appears.
Mom-mosa
2 Navel Oranges
1 Bottle of champage
Fresh fruit (optional for garnish)
- Roll Oranges with palm of hand 2-3 times across your counter
- Cut Oranges in half
- Twist a fork in the center of the orange to release the juice into bowl. Repeat from center outwards. Pick out any seeds that fall into juice
- Transfer juice into a container and serve.
- Slice fresh fruit ¾ of the way through for a garnish on the rim of the glass.
CinnaMOM buns:
Dough:
2 cups all purpose flow
3 tbsp sugar
1 tbsp baking powder
1 tsp salt
5 tbsp cold butter
3/4 cup milk
Delicious Cinnamon Filling:
2/3 cup brown sugar
3 tbsp white sugar
2 tsp cinnamon
4 tbsp butter melted
1/2 teaspoon vanilla extract
Icing:
3 oz cream cheese softened
3 tbsp butter softened
1 teaspoon vanilla extract
1 1/2 cups powdered sugar
1 tbsp milk
Instructions
- Preheat oven to 375F
- Combine flour, sugar, baking powder and salt and mix together.
- Using a pastry cutter (or fork and knife if lacking like myself) cut butter into dry mix
- Add milk and mix until all ingredients are now a dough material.
- Dump dough onto a very well floured surface and roll it around until it makes a ball. You might need to add flour to the surface as it will start to get sticky.
- Sprinkle flour on the top of the ball of dough and use a rolling pin (or wine bottle) to roll dough out to roughly a rectangle.
- Make the filling by adding brown sugar, sugar, and cinnamon to a separate bowl and then stirring in butter and vanilla. This should be thick, like a paste.
- Spread the filling over the dough, leaving about ¼ inch of space around the edge.
- Roll the dough starting at one of the ends and continue to roll tightly. Press the edge of the roll into the dough so that it sticks.
- Cut the log, spacing your cuts about 1 inch apart. If the log is not holding its shape well, you can put it in your freezer for about 10 minutes and then try to cut again. The log/tube shape is key for success.
- Place the remaining 2 Tbsp of butter into a your smaller 9 inch pie pan and set it in your preheating oven for a few minutes until the butter has melted. It’s an easy way to grease your pan.
- Place your cinnamon rolls in baking dish, they do not need to be touching but they should be close, they will spread to fill their surrounding area.
- Bake on 375F for 28-30 minutes (pull when the edges are starting to lightly brown). Remove from oven and allow to cool for 5 minutes before spreading icing over rolls.
- Once the buns are in the oven, make the icing.
- Grab your stand mixer, or hand beaters and combine cream cheese and butter and vanilla.
- Slowly add in sugar. A key to smooth icing is to scrape down the sides of the bowl as you’re mixing, so the edge sugar doesn’t have time to harden.
- Add milk, and change to hand stirring until combined.
Remember, these should be soft, so it will be VERY challenge to separate when warm. Allow to cool 5-10 minutes after adding icing, or when you try to grab 1 cinnamon bun, you’ll grab 2 ½ (not the worst thing right? )


